Friday, January 31, 2014

A Japanese Nabe (Hotpot) for Chinese New Year

Today’s coffee: Tokumitsu Valentine Blend

I’ve always been interested in learning to make foods from other countries. I learned some Swedish and German foods from exchange students and friends at church; when I went to college, I learned some Taiwanese cooking from my roommate, Janelle. Moving to Japan, I’ve had many opportunities to learn all sorts of Japanese cooking from friends; recently I got interested in meat pies and fruitcakes due to the influence of my English colleagues here. Sharing meals is a way to deepen friendships.

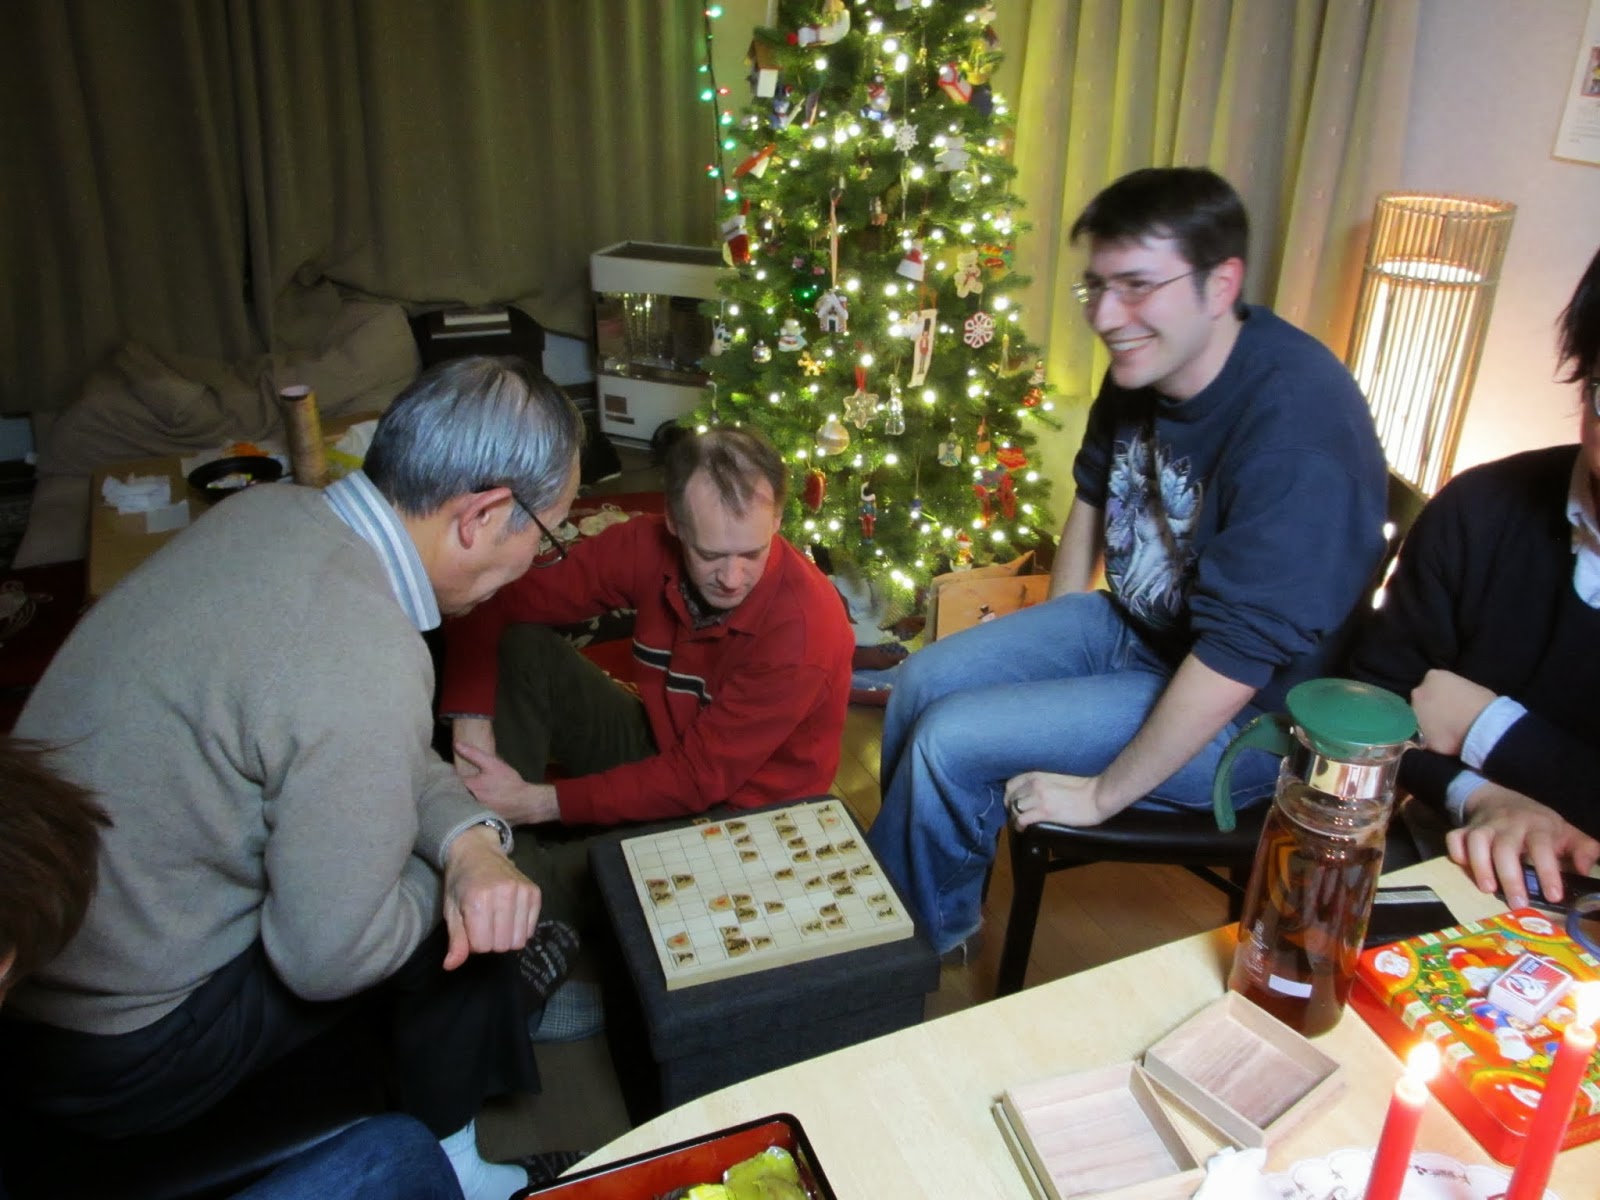
Yesterday was Chinese New Year; we had friends over to celebrate. It might seem odd to some that we were the hosts of such a party, but we count many Chinese people among our friends, so it’s only natural that we would want to celebrate with them. We also share their enthusiasm for gyoza (potstickers) and hotpot. There’s nothing better (in terms of food, at least) than sitting around a steaming hotpot with friends.

Before we made hotpot, we made gyoza! 120 of them. The flash reflected off all the steam in the air...
The Japanese word for hotpot is nabe (written 鍋and pronounced nah-bay); it is similar to Chinese and Taiwanese hotpot. It’s a similar concept to fondue: everyone takes what they like from a communal pot.

Last night’s menu was gyoza and nabe, with ice cream and mikan (mandarin orange) caramel sauce for dessert. I’ve written my recipe for gyoza here. Perhaps I’ll write up a recipe for the caramel sauce someday too; I used a failed marmalade as a base, so I’m not really sure how to explain that part.

Today I’d like to share the recipe for the nabe we had last night. It’s not really either Chinese or Japanese, but I like it so much that I decided to translate the recipe with my alterations; originally it came from Kyou no Ryouri (Today’s Cooking) magazine.

To make nabe, you will need a pot and a tabletop burner. We use a donabe (earthenware pot) and a gas burner, but anything is fine.

First you will need to make the soup base. This quantity gives you 3-4 hotpots, or you can use it as a base for okayu (Japanese rice porridge), pasta, or other soups. It’s not the most traditional, but I love it; I think it’s a flavour that will appeal to our friends in the US. If you’re in a major city, you should be able to find all of these ingredients easily—in Seattle, I think I could find all of these in a normal grocery store. If not, try an Asian grocery store.

Bacon miso soup base
Ingredients
  • 200g (~½ lb) bacon
  • 300g (~¾ lb) miso
  • 80mL (1/3 c) saké
  • 80mL (1/3 c) mirin (or substitute saké+a bit of sugar)
  • ¼ c sugar
Instructions
  1. Cut the bacon slices into ¼-inch pieces.
  2. Fry the bacon until it is crispy.
  3. Move the bacon to plates lined with paper towels to drain the grease.
  4. Put the miso, saké, mirin, and sugar in a small saucepan. Bring to a boil, then reduce the heat to low. Add the bacon and cook for about 3 minutes. (Be careful, as the miso splatters and burns easily!)
  5. Move the mixture to a glass jar and store in the refrigerator for up to 3 weeks.
My favourite way to use this soup base is a slightly spicy hotpot. Here are some suggestions; hotpot is pretty flexible, so use whatever vegetables you like!

Ingredients
  • 2/3 c bacon-miso soup base (see above)
  • 2 cloves garlic, minced (We used an equivalent amount of homemade roasted garlic paste)
  • Ginger, a piece about the size of your thumb, peeled and minced
  • 2 tsp doubanjiang or kochujang/gochujang (Both of these are spicy fermented bean pastes—delicious—but you can leave this out if you can’t find it or you don’t like spicy food)
  • 3 c water
  • Meat: this can be meatballs (we used leftover gyoza filling), bite-sized chicken pieces, or thin strips of pork. Or you can do without, since there’s already bacon in the soup base.
  • Green vegetables: nappa cabbage, spinach, pak choi, etc. cut into large-ish bite-sized pieces (remember, they cook down). Kimchi is also a delicious option.
  • Green onions or leek, thinly sliced diagonally
  • Mushrooms: we like shiitake, shimeji, and enoki
  • Tofu: doesn’t need to be too firm. Silken is nice, although somewhat hard to fish out. Cut it into big chunks.
  • Shirataki noodles are nice if you can find them. If not, no worries.
  • Carrots, potatoes, and daikon are nice, but they need longer to cook.
  • Ponzu sauce (optional)
  • Cooked rice and/or udon noodles (optional)
Instructions
  1. Put the soup base, garlic, ginger, and doubanjiang or kochujang in a large pot. Stir as you gradually add water so that there are no lumps of miso.
  2. Arrange the meat, vegetables, and shirataki noodles in the pot. Or don’t bother to “arrange;” just throw them in. Either way is fine. Don’t fill it too full, since you can always refill later, and if it boils over, it’s hard to clean up.
  3. Put on the lid and turn on the stove; if you’re using a donabe (earthenware pot), be sure to turn up the heat gradually (and you probably know this already, but donabe can only be used on a gas stove; they will break on an electric stove!) Bring to a boil; turn down the heat and simmer gently until the meat is cooked.
  4. Take off the lid… and enjoy!! If you like ponzu sauce, drizzle a little over the top of your bowl, but this hotpot is delicious by itself.
  5. Refill as necessary with meat and vegetables.
  6. When most of the meat and vegetables are gone, you can add udon noodles or rice; they soak up the flavour of the broth.
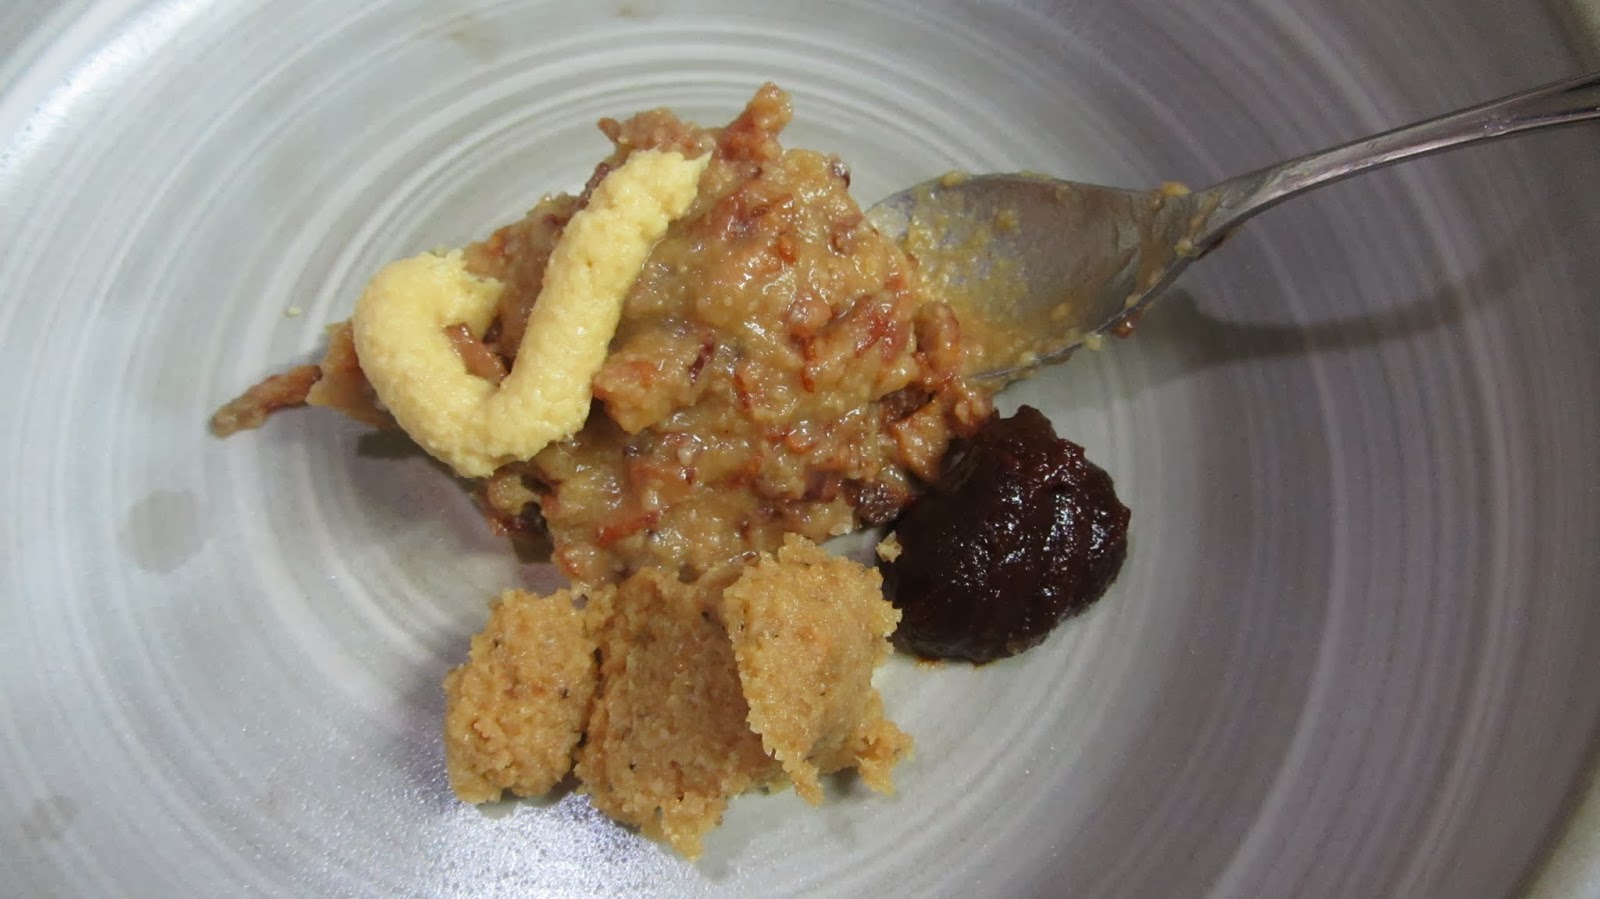
Soup base, ginger, garlic, and kochujang
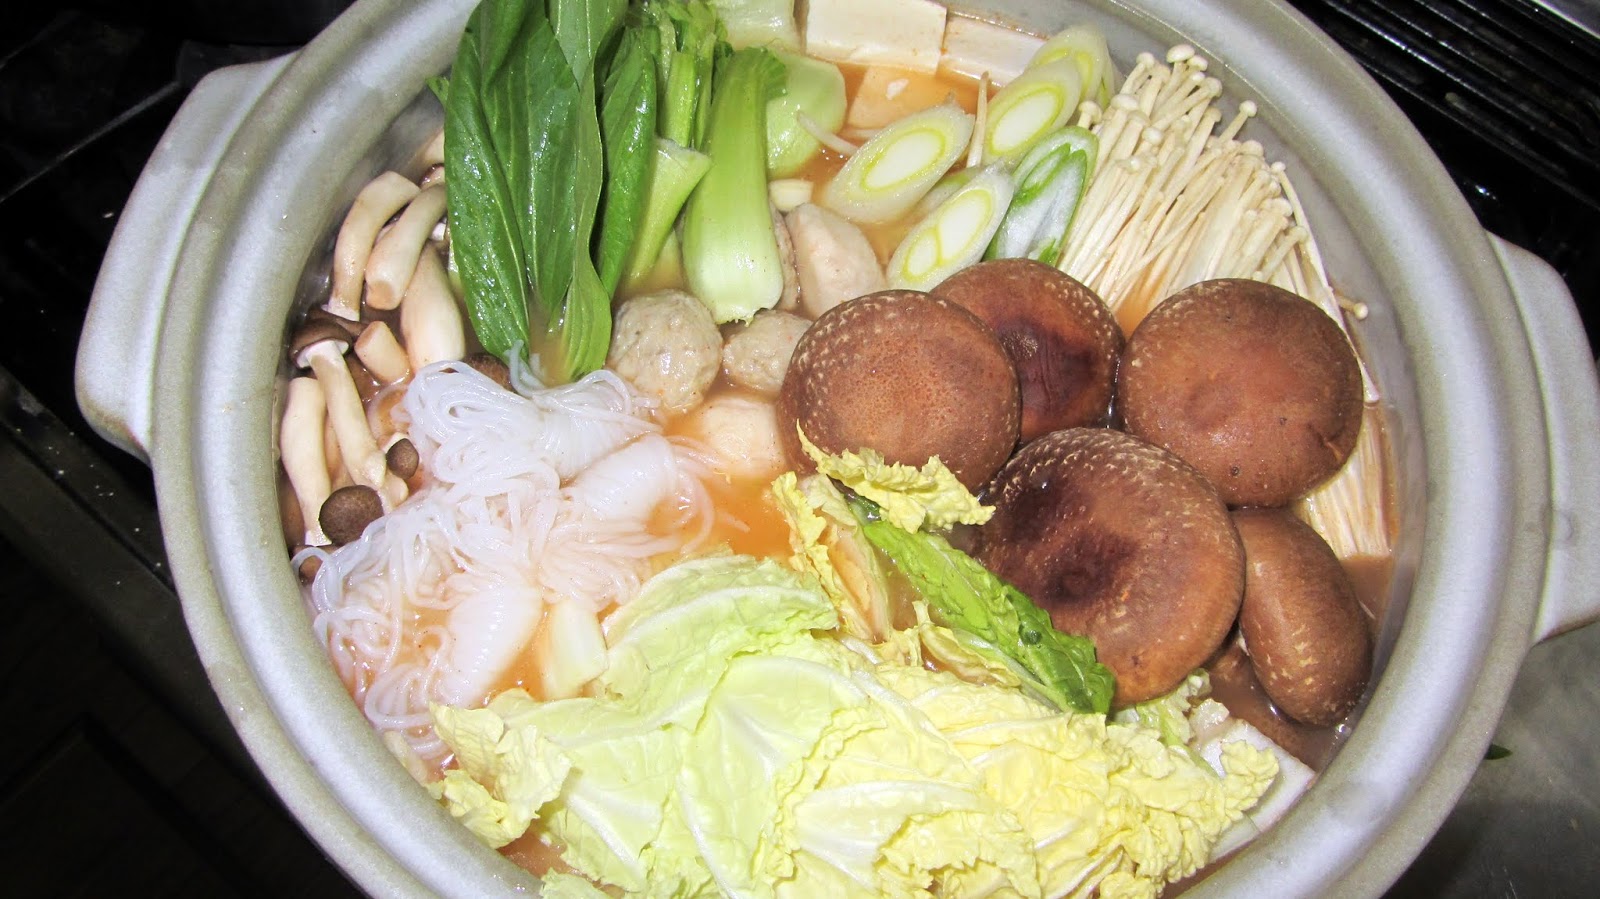
Vegetables and meat arranged: meatballs in the center; clockwise from the left: shimeji mushrooms, chingensai (I think that's pak choi, but I'm not sure) tofu, leek, enoki mushrooms, shiitake mushrooms, nappa cabbage, and bundles of shirataki noodles.
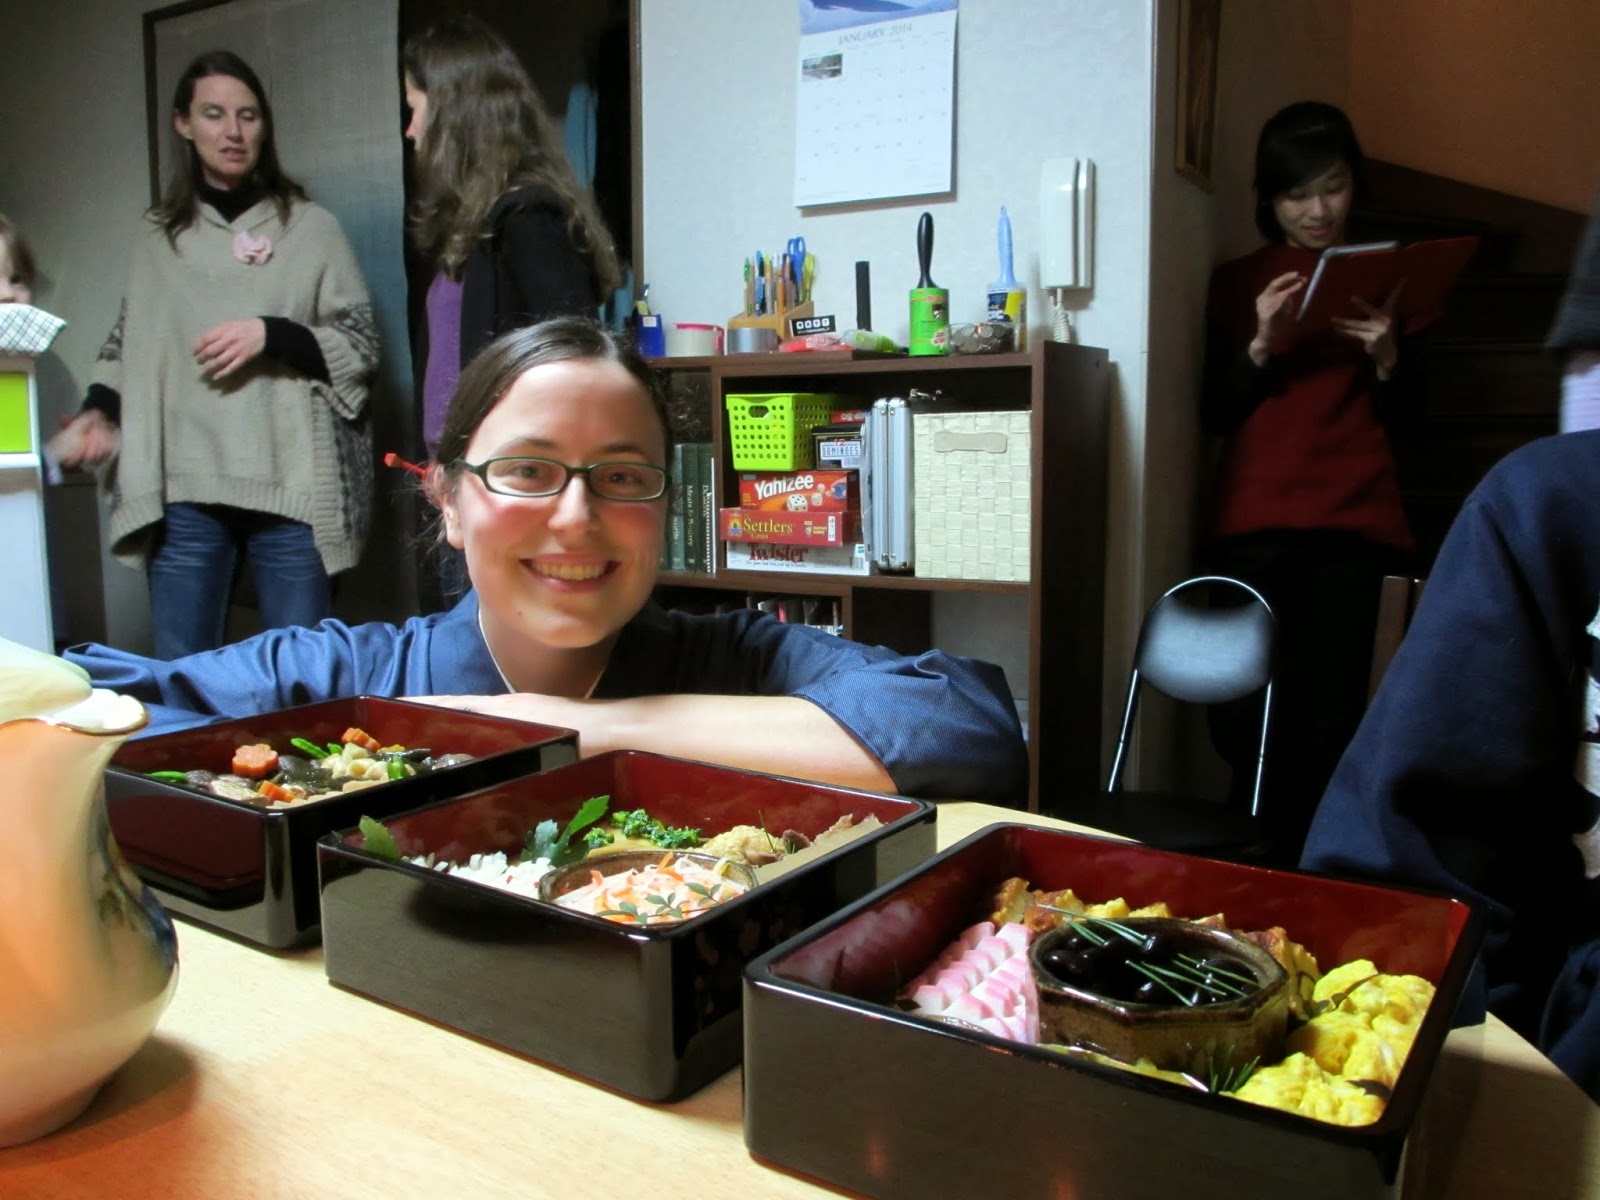
Eating gyoza while we wait for the nabe to cook...
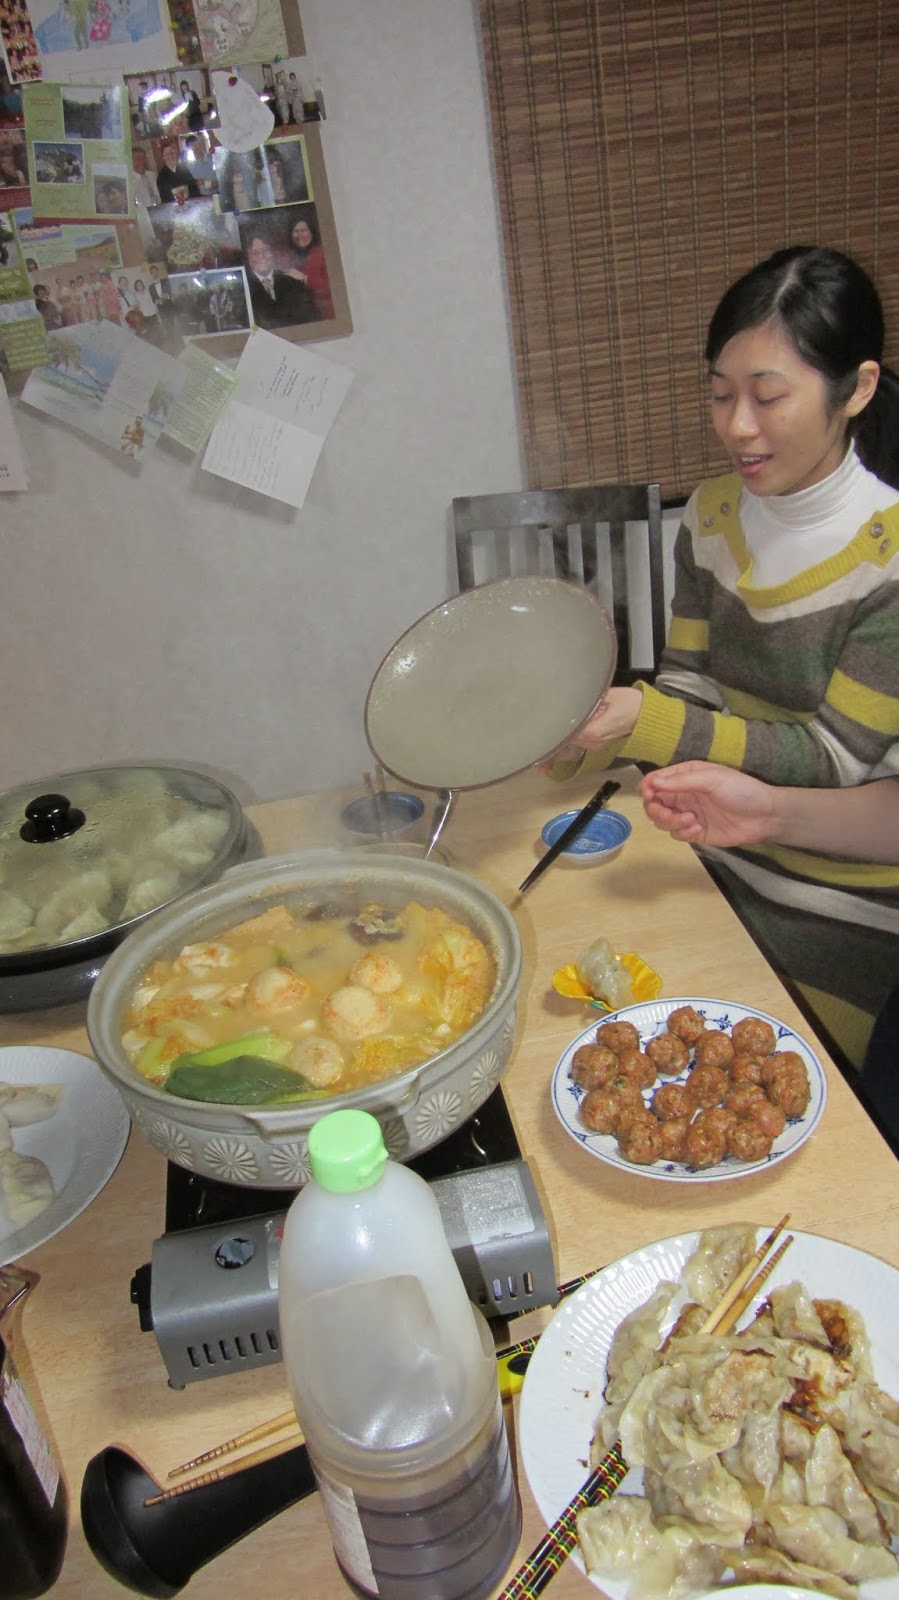
Shirley takes off the lid...
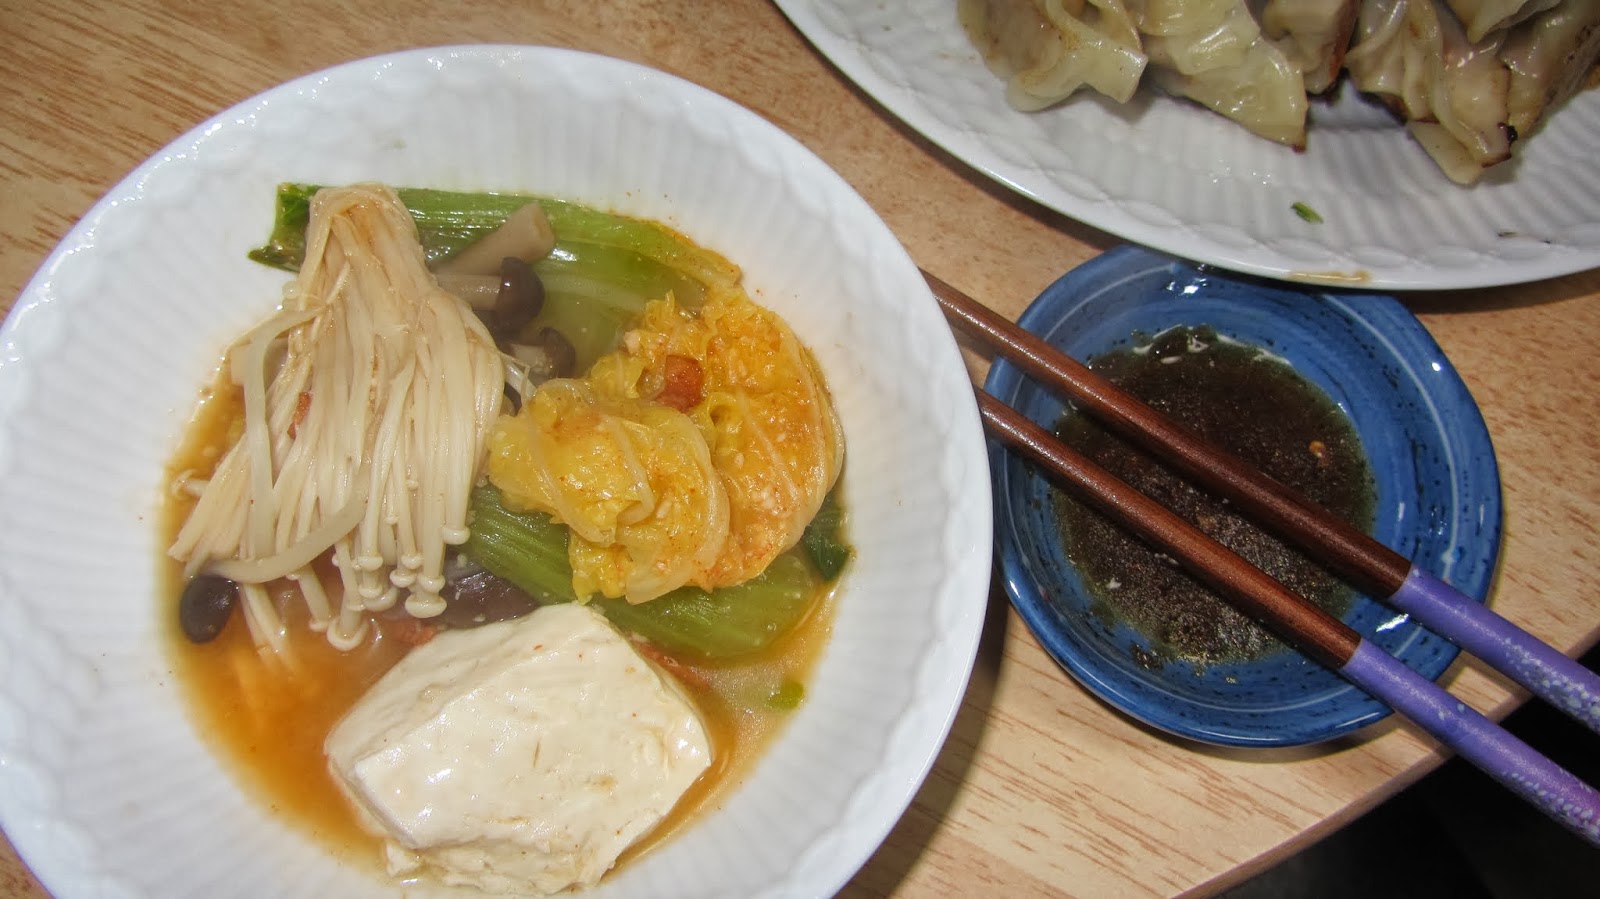
Time to eat!!

Thursday, January 23, 2014

Endurance

Today’s coffee: Tokumitsu Valentine’s blend、Kenya

It’s another concert weekend! I’m playing tomorrow at Sapporo Sun Plaza. This time, I don’t have to give a talk; I show up with my cello, other people move chairs and stands around for me, then I walk on stage, play, and when I’m finished, I take a bow and go back off the stage. Easy! Have I mentioned before that public speaking is the most stressful aspect of concerts for me? :)

Concert tomorrow! Please come!
After tomorrow's concert is over, we don’t have any concerts scheduled for awhile… time to rest, catch up on some other things, and maybe I’ll finally get around to learning the Bach 4th suite!

It’s been almost a year since we graduated for language school. Although we still have a long way to go, I think our biggest accomplishment in the last year in terms of progress in Japanese language has been endurance. Last March, simply listening attentively to the sermon could leave me exhausted and glassy-eyed; now I can participate in high school Sunday school, sing songs, listen to and comprehend most of the sermon, chat with people after church, attend a meeting, and still have a bit of energy to spare. Just a bit.

One piece of advice we heard from other missionaries when we first arrived was to start “playing” in Japanese as soon as possible: spending time with Japanese friends, watching Japanese movies and TV without subtitles (although Japanese captions are helpful), and reading Japanese books. Speaking, hearing, and reading Japanese takes more energy than English, but operating in Japanese language does not necessarily mean we are “working.” Even while we rest, we are gaining endurance and learning about Japanese language and culture.

Still, there’s a limit. During December, we had six Christmas events at church; I gave a talk at the women’s Christmas event, planned and led a Christmas-party-worship-service for the youth group, and planned, rehearsed, and performed a Christmas concert. In the middle of all this, I made a very important realization: playing the cello and speaking Japanese use the same part of my brain.

At the Christmas concert, although the viola da gamba consort pieces went really well, somewhere in the middle of the Mendelssohn sonata, my brain fizzled out. Unable to concentrate, I made a lot of stupid mistakes. (However, either everyone was very kind, or they really didn’t notice. I’m not sure which.) When I tried to introduce the next piece, a jumble of vaguely Japanese-like sounds escaped from my mouth. I’m not sure if I said anything anyone understood.

Wakaba Church Christmas concert
It was this sort of concert: everyone was relaxing after a delicious lunch. This time, my friends, Kumiko and Shoko played 3-part consorts with me, and accompanied Christmas carols.
That night I went home, I crawled into the kotatsu (all the way up to my neck) and stayed there until it was time to go to bed.

Last weekend we had another test of endurance: we spent the weekend in Obihiro, playing two concerts. Since Shino was with us, we mostly spoke Japanese even in our “down time.” Also, there were the usual challenges of traveling for concerts: unfamiliar rooms, unfamiliar pianos, sleeping in an unfamiliar bed. I think we peaked in the first half of the second concert: we pulled off a fabulous performance of the Mendelssohn sonata. Well, it felt good at the time… I’m a little scared to listen to the recording.

In the second half, I could feel my concentration slipping. The Chopin sonata wasn’t bad, but it wasn’t the best either. I found out afterwards that I wasn’t the only one who was tired: Shino confessed to daydreaming about her favourite foods during the Chopin sonata.

Otofuke concert: this time we used Keith's electric piano (this thing weighs 60 kg. Ugh.)
After the Obihiro Eikou Church concert, we took a group picture.
There are some definite perks to playing in Obihiro: the food is amazing. We highly recommend the butadon (grilled pork over a bed of rice). After the concert, we visited the flagship store of Rokkatei, a famous brand of sweets in Hokkaido. Mr. Darcy stole my coffee.
This week we’ve had some time to rest; hopefully that will result in a great performance tomorrow!

Friday, January 17, 2014

From Whining to Strength (and a concert poster)

Today’s coffee… was many hours ago. It’s 9:00 p.m.

… and I’m in Obihiro. Tomorrow and the day after will be concerts. We’re playing sonatas by Chopin and Mendelssohn as well as some other stuff. It looks like it will be sunny, and if I can put off catching a cold for a couple more days, it will be the first time in a long time that we’ve had a sunny day concert with both of us healthy. Yay! Anyway, here is a poster in case you happen to be in the Obihiro area and you want to come. Or, you can just look at it. I think this one is particularly nice!

Last weekend was also a busy weekend; we had a movie event for the youth group at our house on Saturday, and then on Sunday I was on duty for the children’s message. As I was also busy preparing for this weekend’s concerts, I have to admit I was less than excited about writing a children’s message, especially when the passage I was assigned (Gideon’s story) was not one of my favourites. I whined and whined and Keith kindly listened to me. “I’m not good at public speaking.” “I don’t know how to talk to children in English let alone Japanese.” “Why do I always seem to get scheduled to do these when I’m already really busy?” “Gideon is such a wimp. I don’t like him.” And on and on and on.

Saturday afternoon, the youth group came over to watch one of my favourite movies: 耳をすませば (Mimi o sumaseba; English title is Whisper of the Heart). I watched this particular movie for the first time when I was in college at a time when I was pretty discouraged about my progress as a musician. I found it very encouraging and moving, although I couldn’t really put my finger on why that was. I thought it was because the main characters were artists like me.

This time, I noticed a theme that I really hadn’t noticed before: fear of failure. The first time I watched the movie, I had been struggling with finding the motivation to practice my cello; I questioned whether I would ever be able to play as well as a professional should be able to, and my fear paralyzed me from getting anything done in the practice room, or even making it into the practice room at all. If I thought something was impossible for me, my reaction was to conserve energy and time by giving up before I even started. In that respect, school was good for me; periodic performances and various deadlines that had to be met provided motivation.

In the movie, one of the main characters dreams of becoming a violin maker; he decided to go to Italy to see if he has the talent to succeed. “If I don’t test myself, I won’t know whether or not I can do it,” he said. Such a character, well aware of his own limitations but boldly progressing towards his goal, is one I find to be very inspiring.

Returning to the children’s message, I decided to write the story in my own words. Well, not really my own words; the lines I gave to Gideon and other characters were “men’s Japanese” which I had been told never ever to use. I used anime for boys as a reference and had it checked by a guy friend at church. As I wrote, I realized how much the author goes out of their way to show just how much of a wimp Gideon was. But somehow Gideon, who thinks he is in control of his own life and capable of saving his own skin, becomes strong through God’s power, not his own.

Talking to Keith afterwards about the movie and the children’s talk, he pointed out that fear of failure is a common theme in both Gideon’s story and Mimi o sumaseba (Whisper of the Heart); it’s also a recurring theme in my life. I think I may have been too quick to write myself off from public speaking, especially children’s messages (although please don’t make me do too many). If this is what God wants me to do, he can give me the strength to do it, even if I whine every step of the way. But it’s a lot better without the whining.

My experience of God’s work in Japan has been full of Gideon moments: “This can’t possibly work,” I think to myself. But if God’s hand is in it, anything can be a stepping stone to someone’s salvation, even my less-than-superb public speaking.

Monday, January 13, 2014

Stuff I wish I had known before I bought my first kimono

On Girls' Day (March 3) 2010, I walked through heavy wet snowfall to a nearby recycle shop and bought my first kimono! I went with my friend, Ellen, but neither of us knew what we were doing. Somehow I managed to get a great obi... but the kimono was way too short. Also, the obi was very formal; I didn't actually learn to wear that style of obi for the first six months or so. Ellen's obi was a lovely color, but too casual for her komon kimono.

My first kimono: a 付け下げ (tsukesage) with a 袋帯 (fukuro obi). The person who put it on me is very talented; that's why you can't tell that it's too short. Well, you can definitely tell that the sleeves are too short...
Of course if you are all dressed up, you want to do something nice like drinking tea, right? Ellen, wearing a komon kimono and fukuro obi borrowed from the person who dressed us, is on my right. Somehow we all ended up with very appropriate kimono for tea ceremony.
Last Monday, I did a demonstration of 着付け (kimono dressing); to go along with the demonstration, I wrote some tips in English for those interested in getting started with choosing and wearing kimono. Here it is: the stuff I wish I had known when I first went looking for a kimono four years ago.

First you will need a kimono and an obi. In Japan, a recycle shop is a great place to look--you can get very nice kimono for a fraction of the price for a new kimono. I've never bought a new obi or kimono.

Choosing a kimono at the recycle shop (women)

Best case scenario: invite an experienced friend to help you choose a kimono. If that’s not possible, here are a few tips:
  • Style of kimono: There are a lot of rules to follow with regard to level of kimono for various occasions and which kimono may be worn with which obi. Foreigners can get away with a lot of mistakes, but I prefer not to use the “dumb gaijin” excuse more than necessary. I would recommend a 小紋 (komon) kimono: the pattern repeats over the entire kimono. They can be worn in a wide variety of occasions, both casual and formal. 

Here I am with two friends from church, wearing kimono for the occasion of the children's blessing ceremony. All three of us are wearing komon kimono; mine is the most formal, with gold in the pattern, but the other two are wearing more casual komon.

  • Other recommended possibilities: 付け下げ (tsukesage—pattern on the sleeves, shoulder, front and back) are economical possibilities for formal occasions; 紬 (tsumugi—an informal woven kimono) are easy to wear and do not wrinkle easily, but are unfortunately rather expensive due to high quality. If you’re young and unmarried, you can wear a 振袖 (furisode—long-sleeved kimono), but married women usually don’t wear them.
With my senpai (senior student) and teacher, wearing three different tsumugi kimono--durable, high quality, and great for "everyday" wear. Also, we're wearing Nagoya obi.
Wearing a tsukesage for my kimono club new year party last year (this is definitely not a color combination I would have thought of before coming to Japan)
Attending the wedding of one our our kimono club members, we are wearing appropriately formal kimono. I'm wearing an 色無地 (iromuji--single-colored kimono), on my right , my friends are wearing komon, shibori (kind of like miniature tie-dye), tsukesage, and another iromuji.
  • DON’T get a 留袖 (tomesode). This is a black or dark coloured kimono with pattern only below the waist. These are only for weddings—for family members of the bride and groom. I gave in to temptation once… and I’ve not had an opportunity to wear that kimono.
Here's the pattern of my tomesode. I bought it because I like frogs. I guess I'll have to wait for our nieces and nephews to grow up to wear this one?
  • Keep in mind rules of level: kimono that are dyed after they are woven are higher level than those that are woven from dyed thread. For obi, the opposite is true: a woven obi is higher level than one that has been dyed. Generally a 袋帯 (fukuro obi—a double-sided obi which usually has a continuous pattern) will be higher level than a 名古屋帯 (Nagoya obi—a single-sided obi which often only has a pattern on the front and back). With either a kimono or an obi, gold or silver thread means that it is intended for formal use.
  • Style of obi: You’ll want to get an obi that suits your kimono. In my case, I chose my first kimono to suit the obi that I liked. A Nagoya obi is easiest to tie, but it will not necessarily suit a formal kimono. Formal kimono (dyed) go with formal obi (woven); casual kimono (woven) go with casual obi (dyed).
  • Size: The length of the kimono should be roughly the same as your height (including your head), but you can fudge about 8 cm. When you put it on, the sleeves should reach to your wrists when your arms are at your side. For me, this is impossible; there are no kimono with sleeves long enough for my ridiculously long arms. When wrapping the kimono around your body, ideally the front should go all the way around to the side. If it doesn’t, you might still be able to wear it, but you may find it difficult to move around. Also, Nagoya obi tend to be pretty short, so try wrapping it around you 2 1/2 times—the remaining “tail” should still at least reach to the floor.
  • Color combinations: At first, I was drawn to Western concepts of color, combining similar shades. When considering combinations of kimono, obi, and accessories, consider choosing contrasting colors, for example, purple, green, and orange. Blue and orange also look great together. Young people generally wear bright colors, while older people wear pale and dark colors.

Japanese color consciousness: This combination turned out rather more orange than expected, but if you had told me a few years ago that I would wear a bright orange kimono... with pale blue-green accessories (!) I would have laughed. This one was a gift; I didn't really like it until I tried putting it on. Then I realized not only was it very nice color, but also, one of my grandma's favorite colors. :) I like it a lot now.
  • Seasons: Get a kimono that is fully lined. This is for wearing in the "winter" between October and May. Chances are, at the beginning you will not want to wear a kimono in the summer, since it's rather warm.


Now that you have your kimono and obi, you will need to get undergarments, strings, and accessories. Most of these things will probably need to come from a new kimono shop rather than a recycle shop. Start with the "bare-minimum," and if you find you want to continue with kitsuke, get other accessories later.

Bare-minimum necessities for women’s 着付け (kitsuke—wearing a kimono), also known as 着物の一式 (kimono no isshiki). I've included a picture of some of the pieces below.
  • Some sort of slip with V-neck. There are lots of possibilities. I often wear a camisole and wool long underwear instead.
  • 足袋 Tabi: split-toed socks; white for formal occasions, but cute patterned ones are okay to wear with casual kimono.
  • 長襦袢  Nagajuban: full-length undergarment with a (usually) white collar (衿 eri). The silk ones are pretty and comfortable, but difficult to put on and wash. I recommend the 2-piece version with buttons and adjustable sleeves. Be careful of colors; if you’re going to wear your nagajuban with more than one kimono, choose one with a neutral color, as the sleeves are visible.
  • 衿芯 Erishin: a stiff strip of plastic which you insert in the collar of the nagajuban to make it stand up.
  • Certain types of nagajuban require strings (腰紐 koshihimo) to tie them shut. Others come with ties attached. If you are using separate strings, you will also need an extra 伊達締め (datejime—a wide string usually with some sort of padding) to cover the lumps caused by the string.
  • 着物 Kimono
  • Clips: the ones with bells attached will remind you to remove the clips before you go out.
  • 腰紐 koshihimo: strings to tie around the waist
  • こりんベルト korin belt: an elastic band with clips on both ends that helps make the front of the kimono look nice
  • 伊達締め datejime: a wide string usually with some sort of padding
  • 帯板 obi ita: a flexible board under or inside the obi to help it lay flat
  • 帯 Obi
  • かりひも karihimo: a string for “temporary” use; you will need it to hold the obi in place while you finish tying it
  • 帯枕 obi makura: a pillow to give shape to the obi
  • 帯揚げ obi age: a cloth which covers the obi makura and provides an accent color
  • 帯締め obi jime: a decorative string which holds the obi in place


Nice to have: Get these things when you need them, but they're not necessary in the beginning. Probably.
  • If you’re going outside, you’ll need 草履 zouri (sandals) and probably some sort of coat: 羽織 (haori) or 道行 (michiyuki)
  • かんざし Hairpin
  • Handkerchief or small 風呂敷 (furoshiki): if you are eating, you can cover your obi and your lap.
  • Handbag or larger furoshiki to carry your wallet and such. Let’s face it; backpacks and Western-style purses look funny with kimono. (You can tuck smaller items into your sleeves or obi.)
  • Fan. Nice in hot weather or overheated rooms.
  • 襷 tasuki: string to hold your sleeves out of the way if you are working

For Men: Men’s kimono are simple. You will need:
  • Some sort of undergarment: v-neck t-shirt and long underwear
  • 足袋 Tabi (socks)
  • 長襦袢 nagajuban (undergarment)
  • 腰紐 koshihimo—string x2
  • 着物 Kimono (the sleeves should reach your wrists and the hem should reach your ankles)
  • 帯 obi (a men's obi is about 8 cm wide)
  • In some contexts, you may also want a 羽織 (haori: coat) and a 袴 (hakama: pleated long kilt-like garment)

Favorite Shops in Sapporo:

  • セピア (Sepia): Used kimono, antiques, and cool stuff made from kimono and obi fabric. Very friendly. Also coffee. 
  • きらくや (Kirakuya): New kimono and accessories, good prices, friendly service. Also, café with delicious coffee and sweets. 

A few random tips:
  • If you think you can’t learn kitsuke, think again. 100 years ago, everyone knew how to wear a kimono.
  • The internet is probably not going to be the best way to learn kitsuke. Find a class. You can meet people that way, too.
  • Don’t put on a kimono on an empty stomach. I usually drink a large glass of water first. If your stomach is empty, and you eat/drink after putting on the kimono... it gets even tighter.
  • Left over right. Always. Right over left is how you put a kimono on a corpse. Yikes.
  • Consider wearing kimono and accessories to match the season. Everything on this guide refers to kimono to be worn October-May. Summer kimono and yukata are a bit different, although many details stay the same. Not just that, though; including seasonal motifs such as flowers and leaves in your outfit can be fun.
  • Don't be too worried about following rules. Wear the kimono and the obi you want to wear, and once you know how to put it on, practice regularly. The most important thing is to have fun and make friends, right? If you go out wearing a kimono, you will never lack for people to chat with.

Friday, January 10, 2014

Cultural Education Journal Update: Level Up!

Today’s coffee: Tokumitsu New Year Blend, Panama

It’s cold. This year we’ve mostly been going places by car, whereas the last two winters, we walked about 15 minutes to school each way. Sometimes I forget how cold it is.

Our house is warm. On New Year’s Day, we had 14 people in our house for osechi, tea ceremony, and games (karuta and shogi, among others). It got so warm that we had to turn the heat off.

Me with my osechi (fourth time!) and some party guests. :)

The guys played shogi while the girls were upstairs having tea.
In the midst of holiday fun, I had the chance to “level up” in both tea ceremony and kitsuke (kimono-wearing): I had two お茶会 (ochakai: Japanese tea "party") at my house and a I gave a demonstration of kitsuke!

We had 4 weeks in a row of tea ceremony class in November and December, so I was feeling pretty confident. At our last lesson before winter break, we took a lot of pictures.

Noriko prepares tea while Fujiyama sensei watches.
Keith eats his wagashi (Japanese sweet) while waiting for his tea.

Noriko whisks a bowl of tea
 

Looks so delicious! And it's in a beautiful bowl decorated with snow-covered trees.

Keith nervously waits to see if Fujiyama-sensei liked the tea he prepared.
Cleaning the tools

Before drinking her tea, Noriko "apologizes" to the other guests for going first.
 

While I prepare the tea, Sensei is looking up the answer to a question Keith asked.
Keith bows to Noriko: "I'm going to share the tea now."
After Christmas, I had my kimono club friends over for Christmas tea party, so after we enjoyed English and Scandinavian style tea and treats, we had Japanese style tea and treats upstairs in the washitsu (Japanese style room with tatami mats on the floor) which we finally managed to get organized after 10 months in our house. My friend, Naoko and I took turns preparing tea in a very simple style—I was somewhat surprised to discover that I knew all the steps and I could talk and laugh with my friends as I prepared the tea.

First is English and Scandinavian style tea party.
Fruit cake, decorated with homemade yuzu marzipan!

I prepare tea for Naoko and Akiyo... right in my own house!
The Christmas tea party was a lot of fun, so I decided to do tea ceremony again with our friends who came over for New Year’s. I prepared tea for about six people while Michiko-san, our friend from church and former Japanese teacher, explained the guest’s role to the other guests.

As I become more and more comfortable with tea ceremony, I become more confident in serving my friends. I can also feel comfortable making my way of tea ceremony personal to me within the acceptable range of possibilities. I hope that continuing to learn tea ceremony will help me as I seek to practice hospitality.

Four years ago, when Keith and I were short termers, we attended the Japanese Culture Day at our language school. One of the events was a demonstration of kitsuke (kimono wearing) by Ritsuko-san, who is now my teacher. This year Ritsuko-san couldn’t come, so she asked me to do the demonstration in her place. Although I’ve somehow managed to put kimono on a couple of people in the past, this time there would be people watching… but Ritsuko-san was convinced that I’d be okay, so I put aside my fears and agreed to do the demonstration. I practiced once on a friend from my kimono club, and it went okay.

Since the demonstration was three days later, I think I managed to remember most of the points my teacher taught me… except for a few things I forgot and had to re-do. Oops. The end result was pretty good. I dressed two new missionaries—Naomi and Iryaku Hyou. I’m hoping kitsuke is another skill that I can continue to put to good use to make friends and show hospitality, both here in Japan, and when we go on home assignment.

Somehow it turned out okay! Iryaku is wearing a casual men's kimono, Naomi is wearing a formal komon and fukuro obi (although a komon can also be worn for casual occasions), and I am wearing a casual Oshima tsumugi with a hakata obi.
I also wrote a bunch of tips for getting started with kitsuke. There’s not a whole lot of basic information in English about kimono on the internet—it’s hard to get kimono outside of Japan, after all.